Difference between revisions of "RootsMagic 8:ShareableDrive"
| Line 16: | Line 16: | ||
To Create a Shareable Drive: | To Create a Shareable Drive: | ||
| − | #Go to Publish, and select Shareable Drive | + | # Go to Publish, and select Shareable Drive |
| − | [[File:RM8_ShareableDrive-Install.jpg|Shareable Drive Install]] | + | #: [[File:RM8_ShareableDrive-Install.jpg|Shareable Drive Install]] |
| − | #The Create a Shareable Drive window will open, click Next | + | # The Create a Shareable Drive window will open, click Next |
| − | [[File:RM8_ShareableDrive-Create.jpg|Shareable Drive Create]] | + | #: [[File:RM8_ShareableDrive-Create.jpg|Shareable Drive Create]] |
| − | #Select a Drive, click Next | + | # Select a Drive, click Next |
| − | *Removable Drives: can be USB drives, flash drives and thumb drives | + | #* Removable Drives: can be USB drives, flash drives and thumb drives |
| − | *Non-removable Drives: are intended for external drives only. It’s best not to directly install on the C:\ or root drive of the computer. The Launcher file will not be created if that is done. To burn to CD/DVD save the files to the USB or external drive and then copy them to disc using your burning software. | + | #* Non-removable Drives: are intended for external drives only. It’s best not to directly install on the C:\ or root drive of the computer. The Launcher file will not be created if that is done. To burn to CD/DVD save the files to the USB or external drive and then copy them to disc using your burning software. |
| − | [[File:RM8_ShareableDrive-SelectADrive.jpg|Shareable Drive-Select A Drive]] | + | #: [[File:RM8_ShareableDrive-SelectADrive.jpg|Shareable Drive-Select A Drive]] |
| − | #Enter Home Page and Contact Information | + | # Enter Home Page and Contact Information |
| − | [[File:RM8_ShareableDrive-HomePageInfo.jpg|Shareable Drive Home Page Info]] | + | #: [[File:RM8_ShareableDrive-HomePageInfo.jpg|Shareable Drive Home Page Info]] |
| − | *Title for opening page – enter a title such as “The Smith Family” | + | #* Title for opening page – enter a title such as “The Smith Family” |
| − | * Introduction (for About this Tree) – You can also enter an introduction which says anything you want about this Shareable Drive or the data on it. | + | #* Introduction (for About this Tree) – You can also enter an introduction which says anything you want about this Shareable Drive or the data on it. |
| − | *Photo for opening page – click inside the field and a small file icon will appear to the far right. Click on the file icon to select a photo for the opening page. If you don’t enter a photo, RootsMagic will use a generic default picture. | + | #* Photo for opening page – click inside the field and a small file icon will appear to the far right. Click on the file icon to select a photo for the opening page. If you don’t enter a photo, RootsMagic will use a generic default picture. |
| − | *Enter Contact Information - to tell the recipient how to reach you. Click Next. | + | #* Enter Contact Information - to tell the recipient how to reach you. Click Next. |
| − | #Install Application - RootsMagic will generate the files for your Shareable Drive. Check the box to confirm installation on the selected drive, and click Next. Click Back to edit previous selections or Cancel to exit creating the Shareable Drive. | + | # Install Application - RootsMagic will generate the files for your Shareable Drive. Check the box to confirm installation on the selected drive, and click Next. Click Back to edit previous selections or Cancel to exit creating the Shareable Drive. |
| − | [[File:RM8_ShareableDrive-InstallApplication.jpg|Shareable Drive Install Application]] | + | #: [[File:RM8_ShareableDrive-InstallApplication.jpg|Shareable Drive Install Application]] |
| − | #Copying Files - When you click Next RootsMagic collects all the attached multimedia files, the database currently open, and the program or application files for a read-only version of RootsMagic to load onto the USB drive. | + | # Copying Files - When you click Next RootsMagic collects all the attached multimedia files, the database currently open, and the program or application files for a read-only version of RootsMagic to load onto the USB drive. |
| − | [[File:RM8_ShareableDrive-CopyingFiles.jpg|Shareable Drive Copying Files]] | + | #: [[File:RM8_ShareableDrive-CopyingFiles.jpg|Shareable Drive Copying Files]] |
| − | #Finished – the Shareable Drive files have now been copied to your USB drive. Click Close to exit out of Shareable Drive utility program. Click Eject if you wish to eject the USB drive to safely remove from the computer. | + | # Finished – the Shareable Drive files have now been copied to your USB drive. Click Close to exit out of Shareable Drive utility program. Click Eject if you wish to eject the USB drive to safely remove from the computer. |
| − | [[File:RM8_ShareableDrive-Finished.jpg|Shareable Drive Finished]] | + | #: [[File:RM8_ShareableDrive-Finished.jpg|Shareable Drive Finished]] |
| − | Note: the Shareable Drive files copied to the USB drive can now be burned to a CD or DVD with your own burning software. | + | Note: the Shareable Drive files copied to the USB drive can now be burned to a CD or DVD with your own burning software. |
==Open the ShareableDrive== | ==Open the ShareableDrive== | ||
Revision as of 18:49, 29 June 2022
Navigation: RootsMagic 8 > The RootsMagic Interface > Publish Page >
Sharing your family history with others just got easier. RootsMagic’s Shareable Drive will run a read-only version of RootsMagic off a USB drive, without the worry of editing or damaging the database file. The Shareable Drive has a customizable opening page, with your own title, picture, introduction, and contact information. The ShareableDrive will even include your photographs and other multimedia items. Using your own burning software, the ShareableDrive files can be written to a CD or DVD as well.
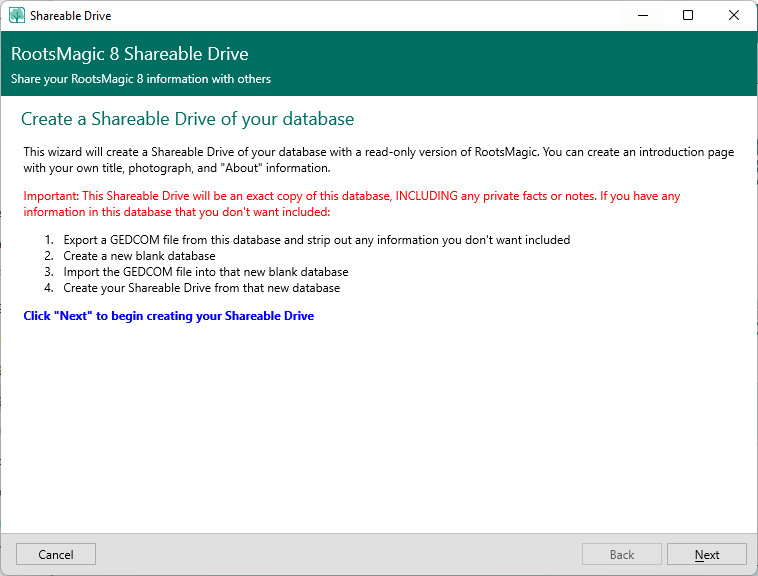
Important: This Shareable Drive will contain an exact copy of this database, INCLUDING any private facts or notes. If you have any information in this database that you don’t want included:
- Export a GEDCOM file from this database and strip out any information you don’t want included.
- Create a new blank database
- Import the GEDCOM file into that new blank database.
- Create your ShareableDrive from this privatized database. (You can delete the database after you have created the Shareable Drive.)
Installation
RootsMagic 8 will create a Shareable Drive by copying the RootsMagic 8 program folder or application file to a USB drive. (RootsMagic Shareable Drive needs a separate installation from each operating system.) You can install both versions of RootsMagic Shareable Drive on the same USB drive to move between a Windows and Mac computer. The RootsMagic database can be opened on either the Windows or Mac versions.
To Create a Shareable Drive:
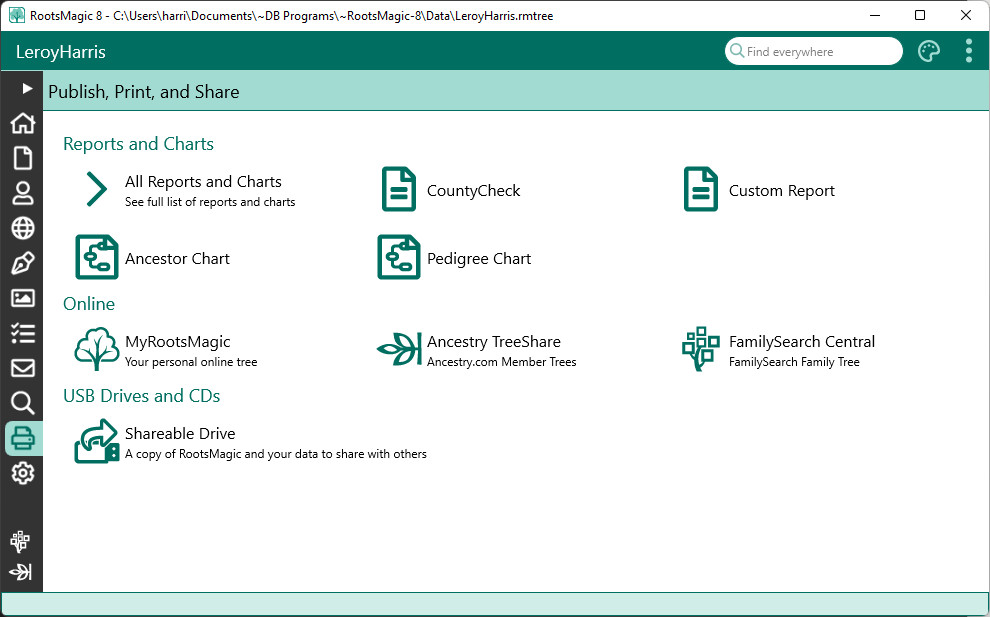
- Go to Publish, and select Shareable Drive
- The Create a Shareable Drive window will open, click Next
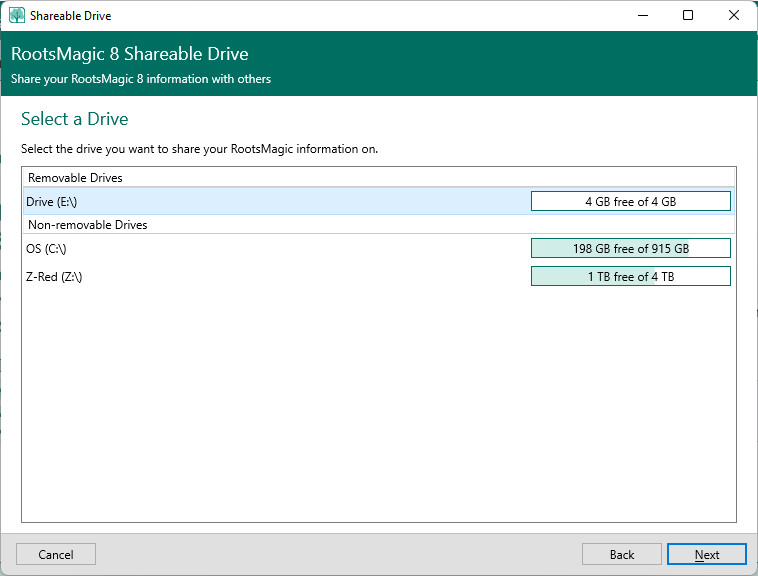
- Select a Drive, click Next
- Removable Drives: can be USB drives, flash drives and thumb drives
- Non-removable Drives: are intended for external drives only. It’s best not to directly install on the C:\ or root drive of the computer. The Launcher file will not be created if that is done. To burn to CD/DVD save the files to the USB or external drive and then copy them to disc using your burning software.
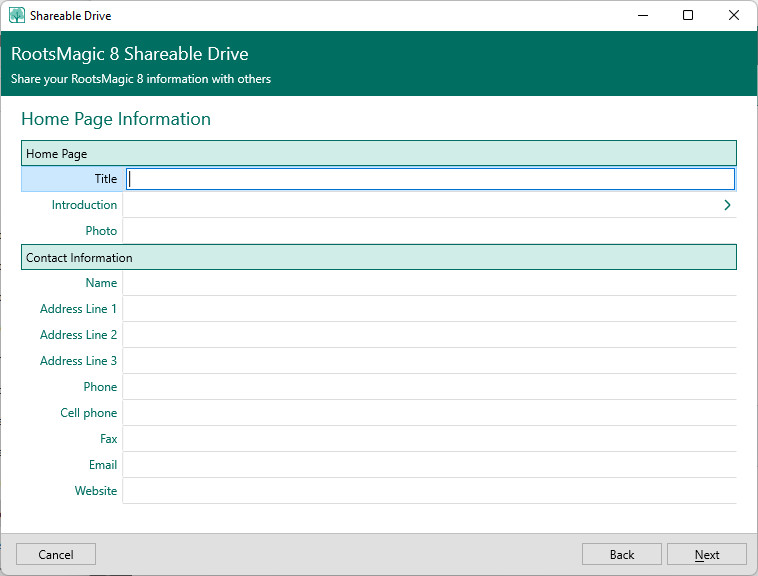
- Enter Home Page and Contact Information
- Title for opening page – enter a title such as “The Smith Family”
- Introduction (for About this Tree) – You can also enter an introduction which says anything you want about this Shareable Drive or the data on it.
- Photo for opening page – click inside the field and a small file icon will appear to the far right. Click on the file icon to select a photo for the opening page. If you don’t enter a photo, RootsMagic will use a generic default picture.
- Enter Contact Information - to tell the recipient how to reach you. Click Next.
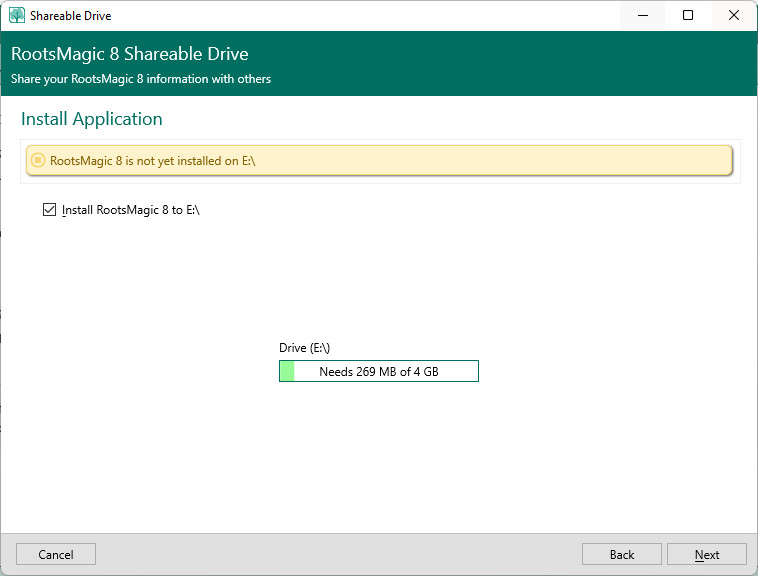
- Install Application - RootsMagic will generate the files for your Shareable Drive. Check the box to confirm installation on the selected drive, and click Next. Click Back to edit previous selections or Cancel to exit creating the Shareable Drive.
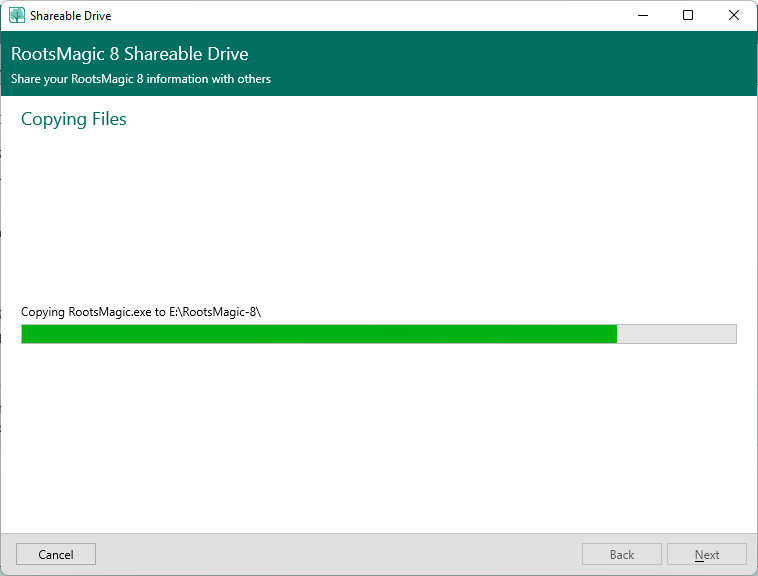
- Copying Files - When you click Next RootsMagic collects all the attached multimedia files, the database currently open, and the program or application files for a read-only version of RootsMagic to load onto the USB drive.
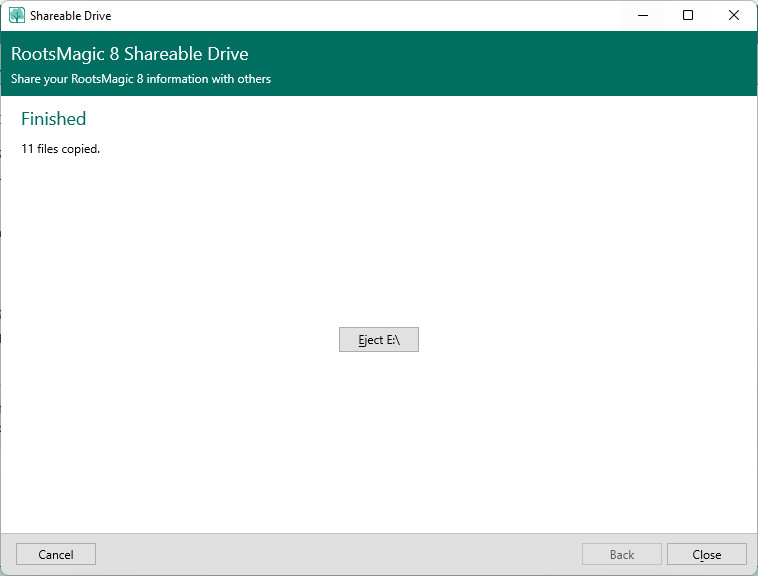
- Finished – the Shareable Drive files have now been copied to your USB drive. Click Close to exit out of Shareable Drive utility program. Click Eject if you wish to eject the USB drive to safely remove from the computer.
Note: the Shareable Drive files copied to the USB drive can now be burned to a CD or DVD with your own burning software.
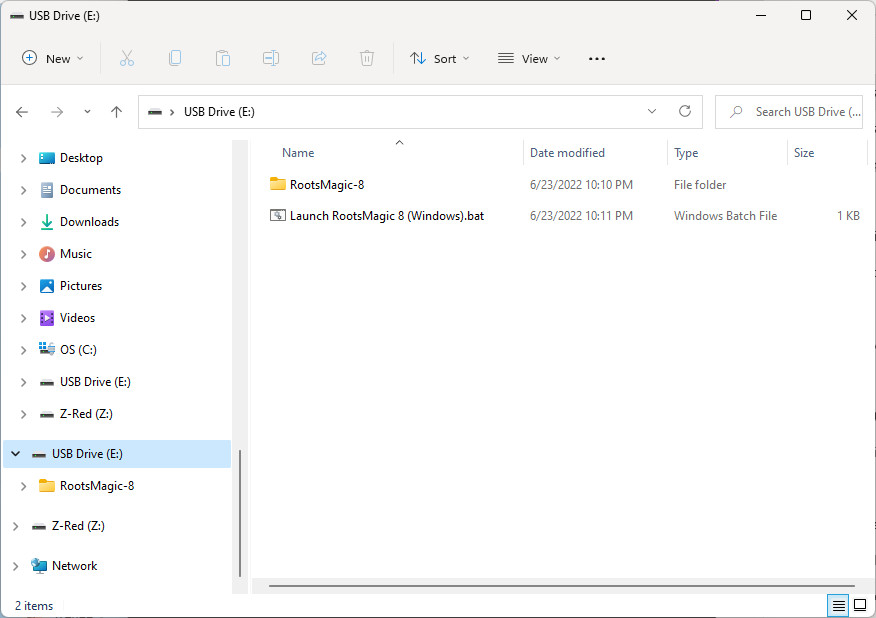
When you send the Shareable Drive to a family member, they will see a RootsMagic 8 folder that contains the program and data files and the “Launch RootsMagic 8.bat” file that will open the Shareable Drive.
If the Windows and Mac versions are on the same USB Drive they must select the correct launch.bat file for their operating system.
To run the ShareableDrive on:
- Windows: double click “Launch RootsMagic 8 (Windows).bat” on the USB drive to open.
Note: Windows only allows one RootsMagic.exe open at a time. You will need to close the desktop version of RootsMagic before opening the Shareable Drive.
- Mac: double click “Launch RootsMagic 8 (Mac).bat” on the USB drive to open.
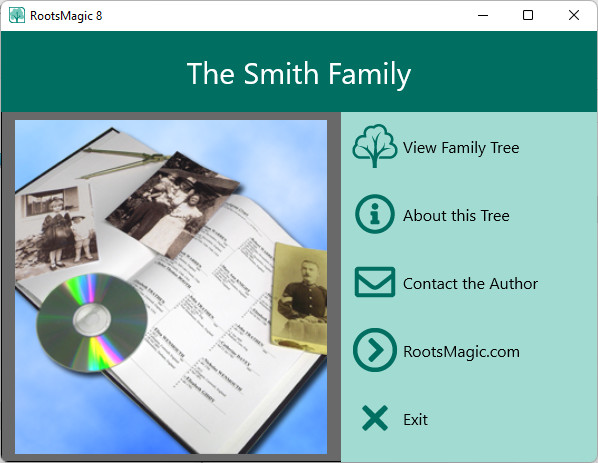
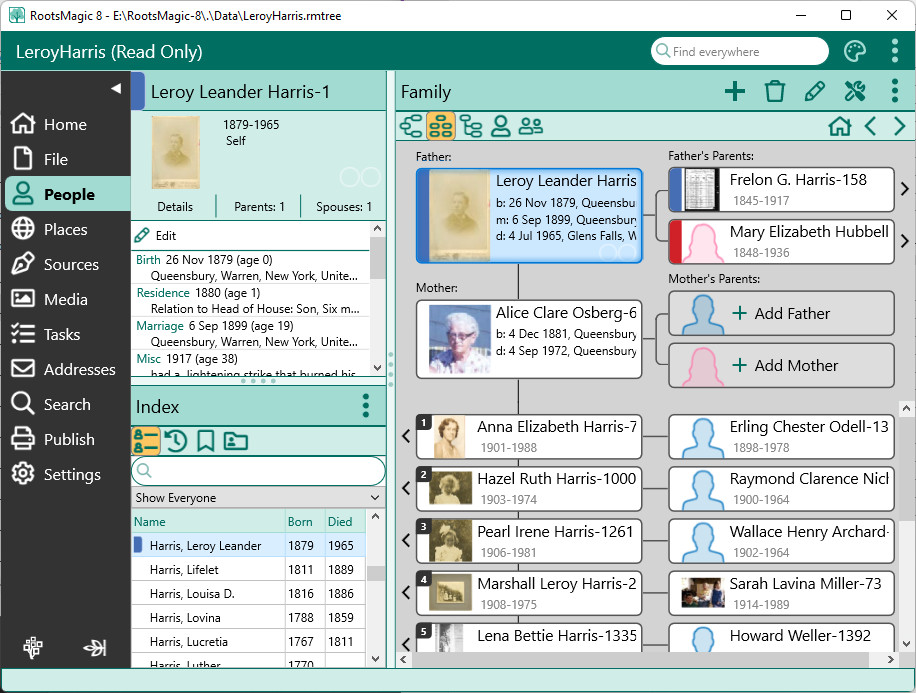
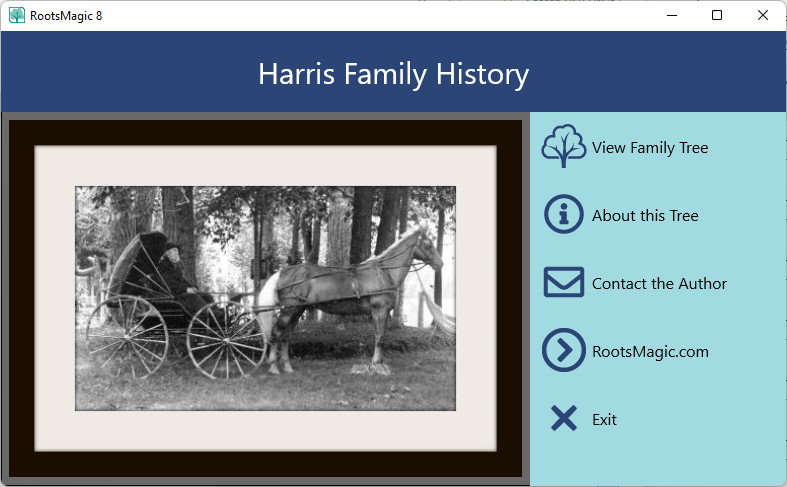
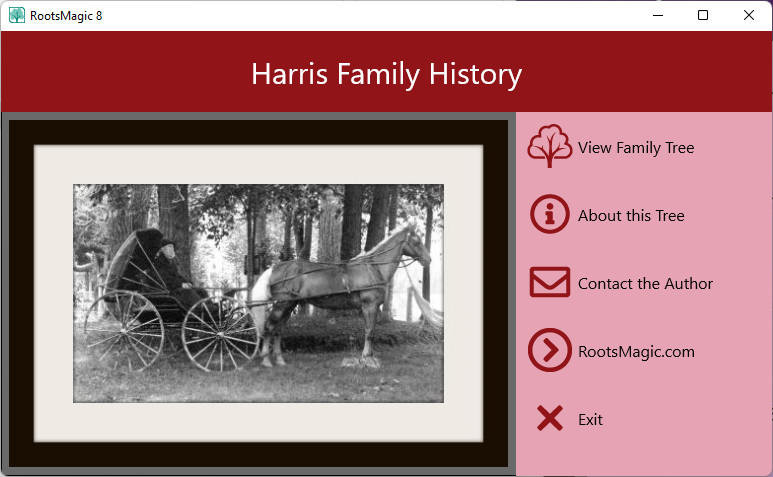
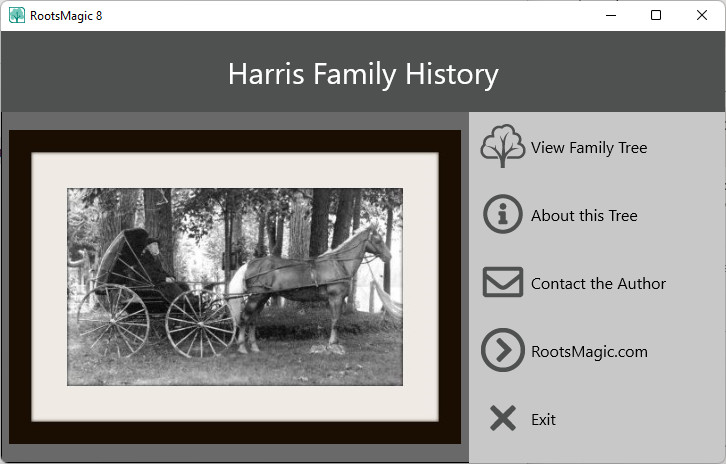
After clicking on launch.bat file the Shareable Drive will open to a menu page. They can click “View Family Tree” to run the read-only version of RootsMagic with your data, or see more information or contact information.
The database will appear with it marked "Read Only" at the top. No changes can be made to the database.
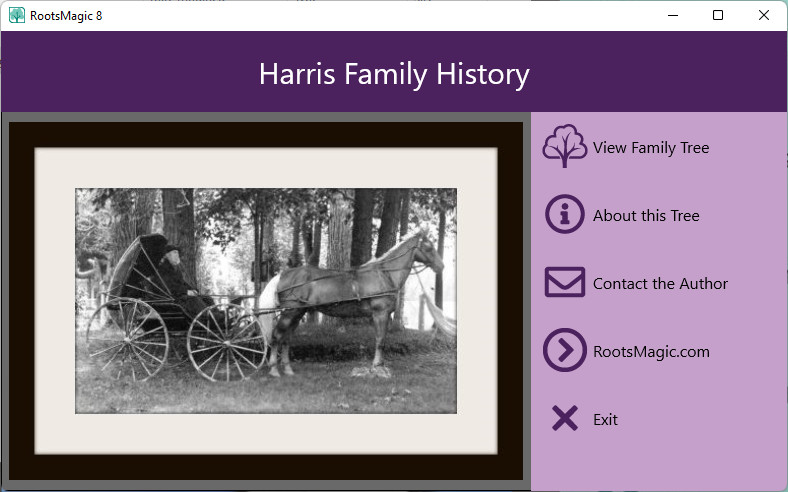
The Shareable Drive will use the program “Theme color” under Settings, Display Settings. You can create the Shareable Drive with the existing Theme color in the program or change it on the Shareable Drive afterwards. To change afterwards, click on “View Family Tree” on the Shareable Drive opening page, and go to Settings.
