Report Settings
Navigation: RootsMagic 8 > Reports And Charts >
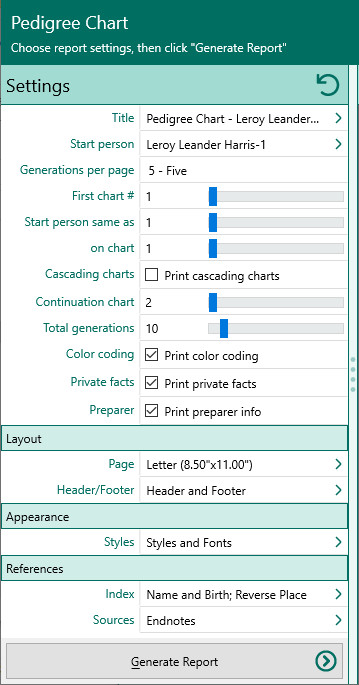
In addition to the specific settings for each type of report, some settings are available which apply to some or all of the reports, including page layout, styles, headers and footers, source and index options, colors, border styles, and picture settings. These settings will be below the specific settings for the report as shown below, and can be selected by clicking the item.
RootsMagic will slide in the appropriate settings edit panel. Not all reports will include every setting. For example, the index option will only be included for reports that support an index at the end of the report.
Page layout
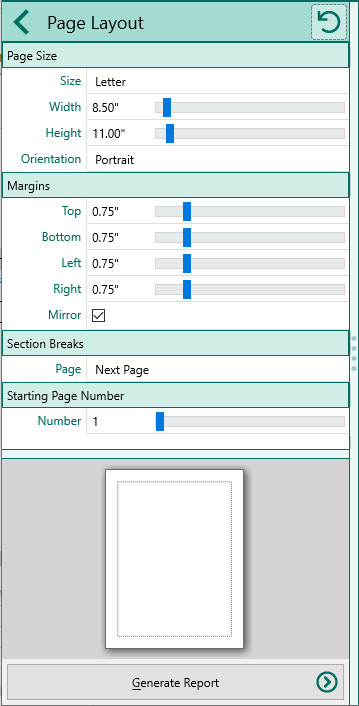
The Page Layout dialog lets you customize how your reports will be printed on the page. When you make changes to the page layout, it only affects the report type you are currently working on. For example, if you change the margins or header for a pedigree chart, those changes do not affect the margins or headers for family group sheets.
You can choose the following page layout settings:
- Size - Select the paper size from a list of standard sizes
- Width and Height - If you choose Custom as the size, you can enter your custom page size here
- Orientation - Select from portrait or landscape
- Margins - Select the amount of empty space (margins) you want on the top, bottom, left, and right of the report
- Mirror - Check this box if you want the left and right margins to switch on odd/even pages. This is useful when printing double sided to be bound.
- Section Breaks - When a section break occurs in the report, this determines whether the new page starts on the next available page, or on the next odd or even page.
- Starting page number - Select the page number to use for the first page
Styles and Fonts
Styles let you select the fonts, colors, and other styles to use in the report.
Style List
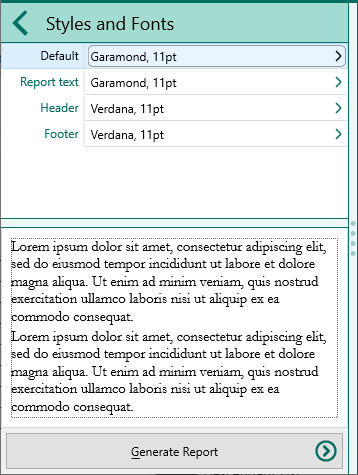
RootsMagic will display the list of styles used in the report. A style consists of more than just the font, it also includes text alignment, colors, indentation, spacing and other attributes. Some of these styles may be unique to the report, but others may be shared among multiple reports. In those cases, changing a style may affect other reports using that same style.
The first style listed is the "default" style. Other styles basically descend from the default style, but can be changed individually. If you modify an attribute of the Default style (like font face, font size, etc), any of the other styles with the same attribute will also be changed. For example, if you change the default font size from 11 to 13 point, all the report styles that were 11 point will also be changed to 13 point. Styles of any other size will not be affected.
Style Settings
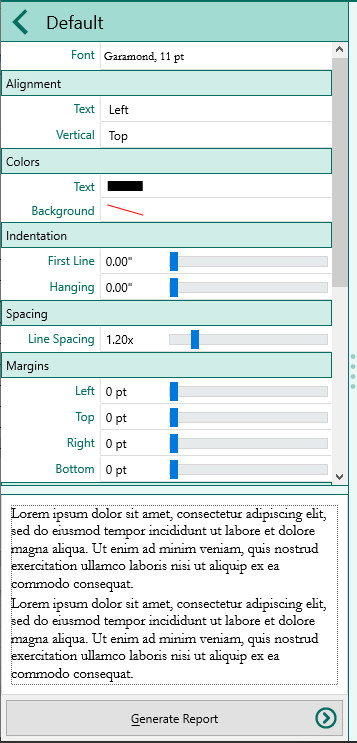
When you select a style to edit, RootsMagic will slide in the style edit panel.
From here you can modify:
- Font - You can select the font face, size, and styles (bold, italic, underline, and strikeout)
- Alignment - You can select both the Text (left, right, center) or Vertical (top, bottom, center) alignment
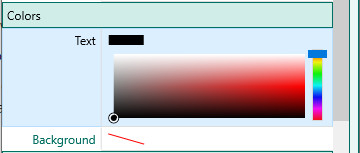
- Colors - You can select both the text and background colors. You can adjust the bar on the right to select the general color, then adjust the dot on the left panel to select the specific color.
- Indentation - You can select the indentation and hanging indent for the style
- Spacing - You can select the line spacing (in points).
- Margins - You can select the additional margins for the style.
- Padding - You can select the inner padding for the style.
- Border - You can select the border for the style (this isn't common).
As you modify the styles, RootsMagic will display a sample of the selection at the bottom of the edit panel.
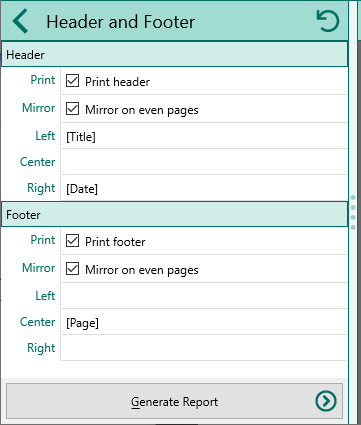
The Header/Footer slide in allows you to customize the way headers and footers are printed on the page. There are 2 sections (Header and Footer) and both have the same options. The only difference is the Header prints at the top of the page, and the Footer prints at the bottom.
- Print – Mark this checkbox if you want RootsMagic to print a header (or footer).
- Mirror – Mark this checkbox if you want RootsMagic to swap the left and right sections of the header (or footer) on even pages. This is useful when you are printing on both sides of the page and want, for example, a page number to be on the outside part of the header.
- Left – Enter the text that you want printed left justified at the left of the header (or footer), and choose the font, the size, and bold, underline, italic and or strikeout attributes You can enter any text you desire in this area. There are 5 special values you can enter here:
- [Title] – RootsMagic will replace this with a title designed specially for this printout
- [Date] – RootsMagic will replace this with the current date
- [Page] – RootsMagic will replace this with the current page number
- [File] – RootsMagic will replace this with the name of the current database
- Center – Enter the text that you want printed centered in the header (or footer). You can use any of the special values described above as well.
- Right – Enter the text that you want right justified at the right of the header (or footer). You can use any of the special values described above as well.
Source options
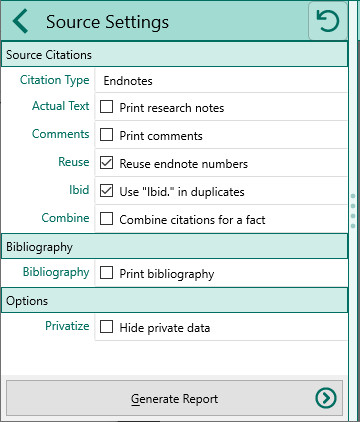
The source settings slide-in lets you select how you want sources to print in certain reports.
You can choose from:
- Citation type – Select how you want citations to appear in your report:
- No sources – Select this option if you don’t want sources to print in the report.
- Endnotes – Print endnotes on a separate page.
- Footnotes – Print footnotes at the bottom of each page.
- Actual Text – Print the actual citation text with the source.
- Comments – Print the citation comments with the source.
- Reuse – Causes duplicate citations to only be printed once. This can drastically reduce the size of your list of sources.
- Ibid – Select this option if you want to use Ibid. when duplicate citations appear consecutively in the report
- Combine - Select this option to have RootsMagic combine multiple citations into one footnote, thus eliminating multiple reference numbers beside a fact
- Bibliography – Check this box if you want each source printed at the end of the document. The bibliography is list of sources printed in alphabetical order, without reference numbers pointing to them.
- Privatize – Checking this option tells RootsMagic to hide private data so the non-private data in the source field will appear in the report. If the source template includes something like <![StreetAddress]|<sc>Address for private use</sc>>, and the field contained "123 Any Street, "Address for private use" would appear by default, and "123 Any Street" would appear if this checkbox was unchecked.
Index options
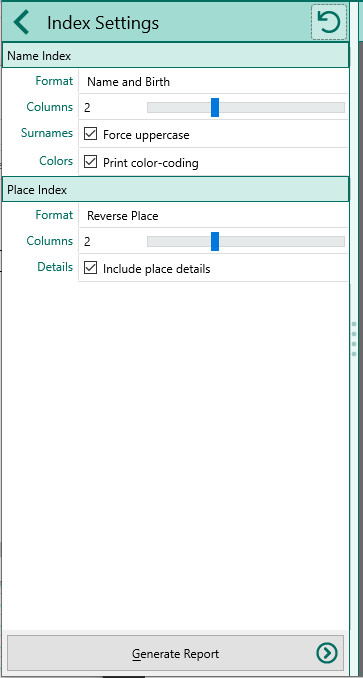
A number of reports allow you to print an index of the people and an index of places in the report. The Index slide-in allows you to customize these indexes.
Name Index
- Format – Select how you want to format the index entries
- No Name Index – Select this option if you don’t want a name index
- Name Only – Select this option if you want the name index to display the name only
- Name and birth – Select this option if you want the name index to display the name and birth year
- Name, birth, death – Select this option if you want the name index to display the name with the birth and death years
- Columns – Choose whether to print one, two, or three columns in the index
- Surnames – Check this box if you want the surnames to be shown in uppercase in the report
- Colors - Check this box if you want RootsMagic to print names using their color code
Place Index
- Format – Select how you want to format the index entries
- No Place Index – Select this option if you don’t want a place index
- Place – Select this option if you want the entries in the place index to appear in their usual order, smallest to largest, e.g. Bolton, Lancashire, England
- Reverse place – Select this option if you want the entries in the place index to appear in reverse order, largest to smallest, e.g. England, Lancashire, Bolton. This groups the places by countries, provinces or states within the country, then counties, etc.
- Columns – Choose whether to print one, two, or three columns in the index
- Details – Choose whether to include place details in the index
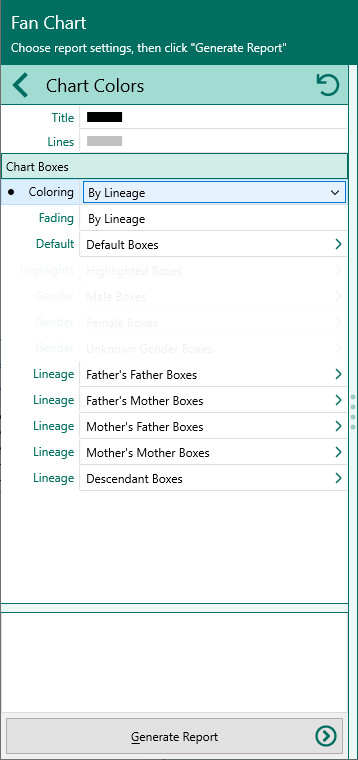
Chart Colors
The Chart Colors slide-in will be available when printing large format charts (Ancestor, Descendant, Fan, or Hourglass).
RootsMagic provides a number of different coloring schemes to select from. The color settings will differ depending on which color scheme you select.
- No Coloring - No coloring for the chart
- Color Coding - Display each person using the color code assigned to them in RootsMagic.
- By Gender - Display each person in a color based on their gender. You can select the color for males, females, and unknown.
- By Lineage - Display each person in a color based on lineage (4 grandparent lines). You can select the color for each line.
- X-Chromosome - Display each person in a color based on X-Chromosome match to the starting person. You can select the default and the highlighted colors.
- Y-Chromosome - Display each person in a color based on Y-Chromosome match to the starting person. You can select the default and the highlighted colors.
You can also select a "Fading" option for the color schemes. You can have 1) no fade, 2) fade by generation, or 3) fade by lineage.
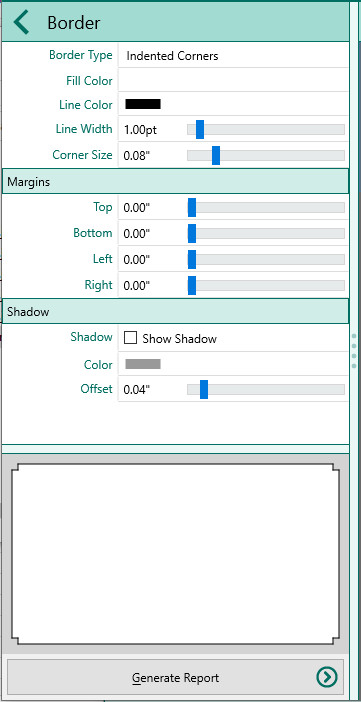
Box borders
Some reports and charts allow you to print boxes around information. The Border Style dialog lets you choose the format of these borders.
- Border Type – Choose the style of border from the list. The display to the right of the list will show you what the border will look like.
- None
- Single line
- Double line
- Rounded corners
- Indented corners
- Fancy frame 1
- Fancy frame 2
- Corners only
- Double corners
- Horizontal lines
- Vertical lines
- Fill color – Click this button to select the color for the inside of the box.
- Line color – Click this button to select the line color for the box.
- Line width - Select the width of the box border
- Corner Size - Choose the amount of rounding for rounded corners
- Margins - Select the margins around the border
- Shadow – Mark this checkbox if you want the border to have a drop shadow.
- Color – Select the color for the shadow.
- Offset – Select an offset for the shadow
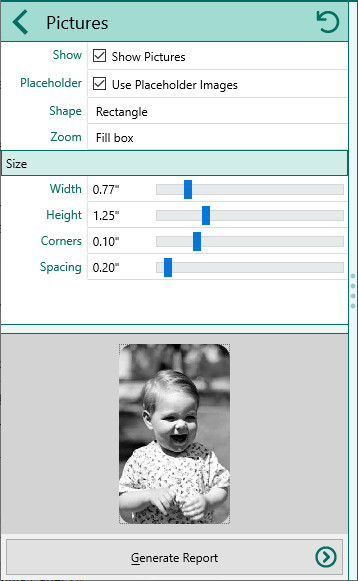
Picture settings
For reports that allow pictures, RootsMagic will provide a Picture settings slide in.
- Show - Check this box if you want to include photos
- Placeholder - Check this box if you want RootsMagic to include a placeholder for people who do not have a primary photo
- Shape - Select the shape of the photos
- None
- Rectangle
- Square
- Ellipse
- Circle
- Zoom - Choose how the photo should fill the area
- Fit inside box
- Fill box
- Size - Select the size to display the photo in. This lets you select the Width and Height, but also lets you adjust the corner size and spacing
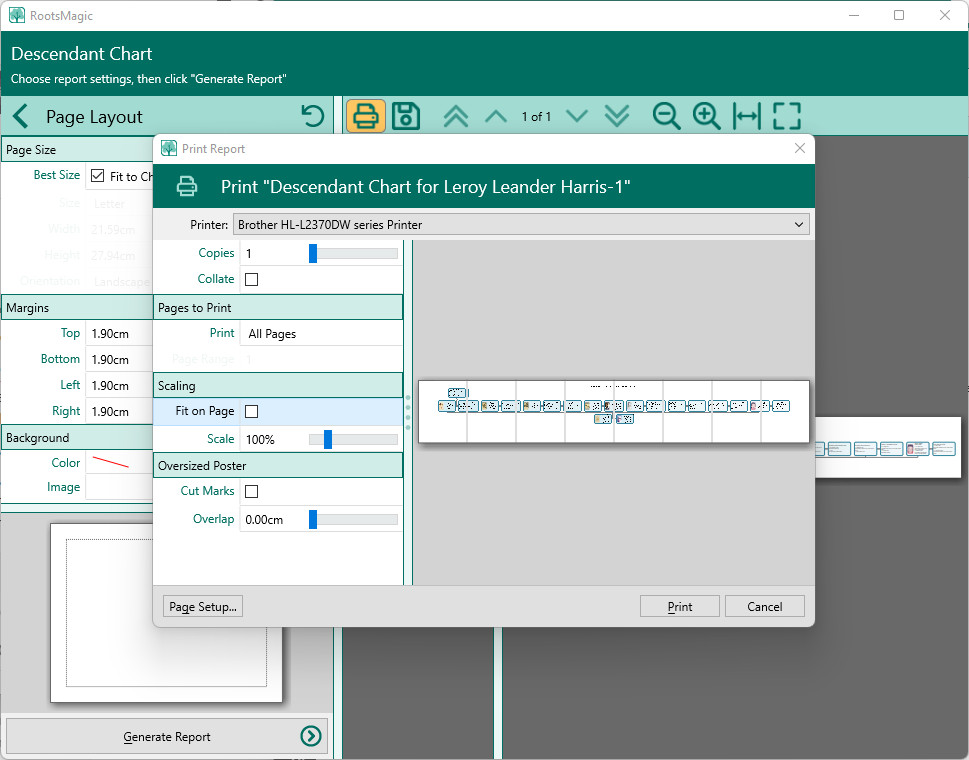
Print Settings for Multiple Pages
To print large format charts across multiple pages the best settings are:
- Page Layout, Best Size: Fit to Chart
- Print Report, uncheck "Fit on Page" and adjust Scale until the chart covers the size and number of pages desired. You will see a faint page break displayed in the viewer.
